Creating Your First Flow
Creating flows with Usertour is a piece of cake. Before your users can see the content you build, you need to install Usertour.js in your web app.
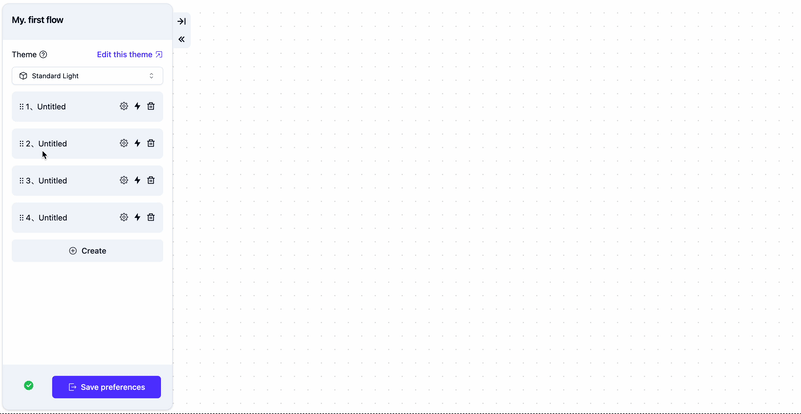
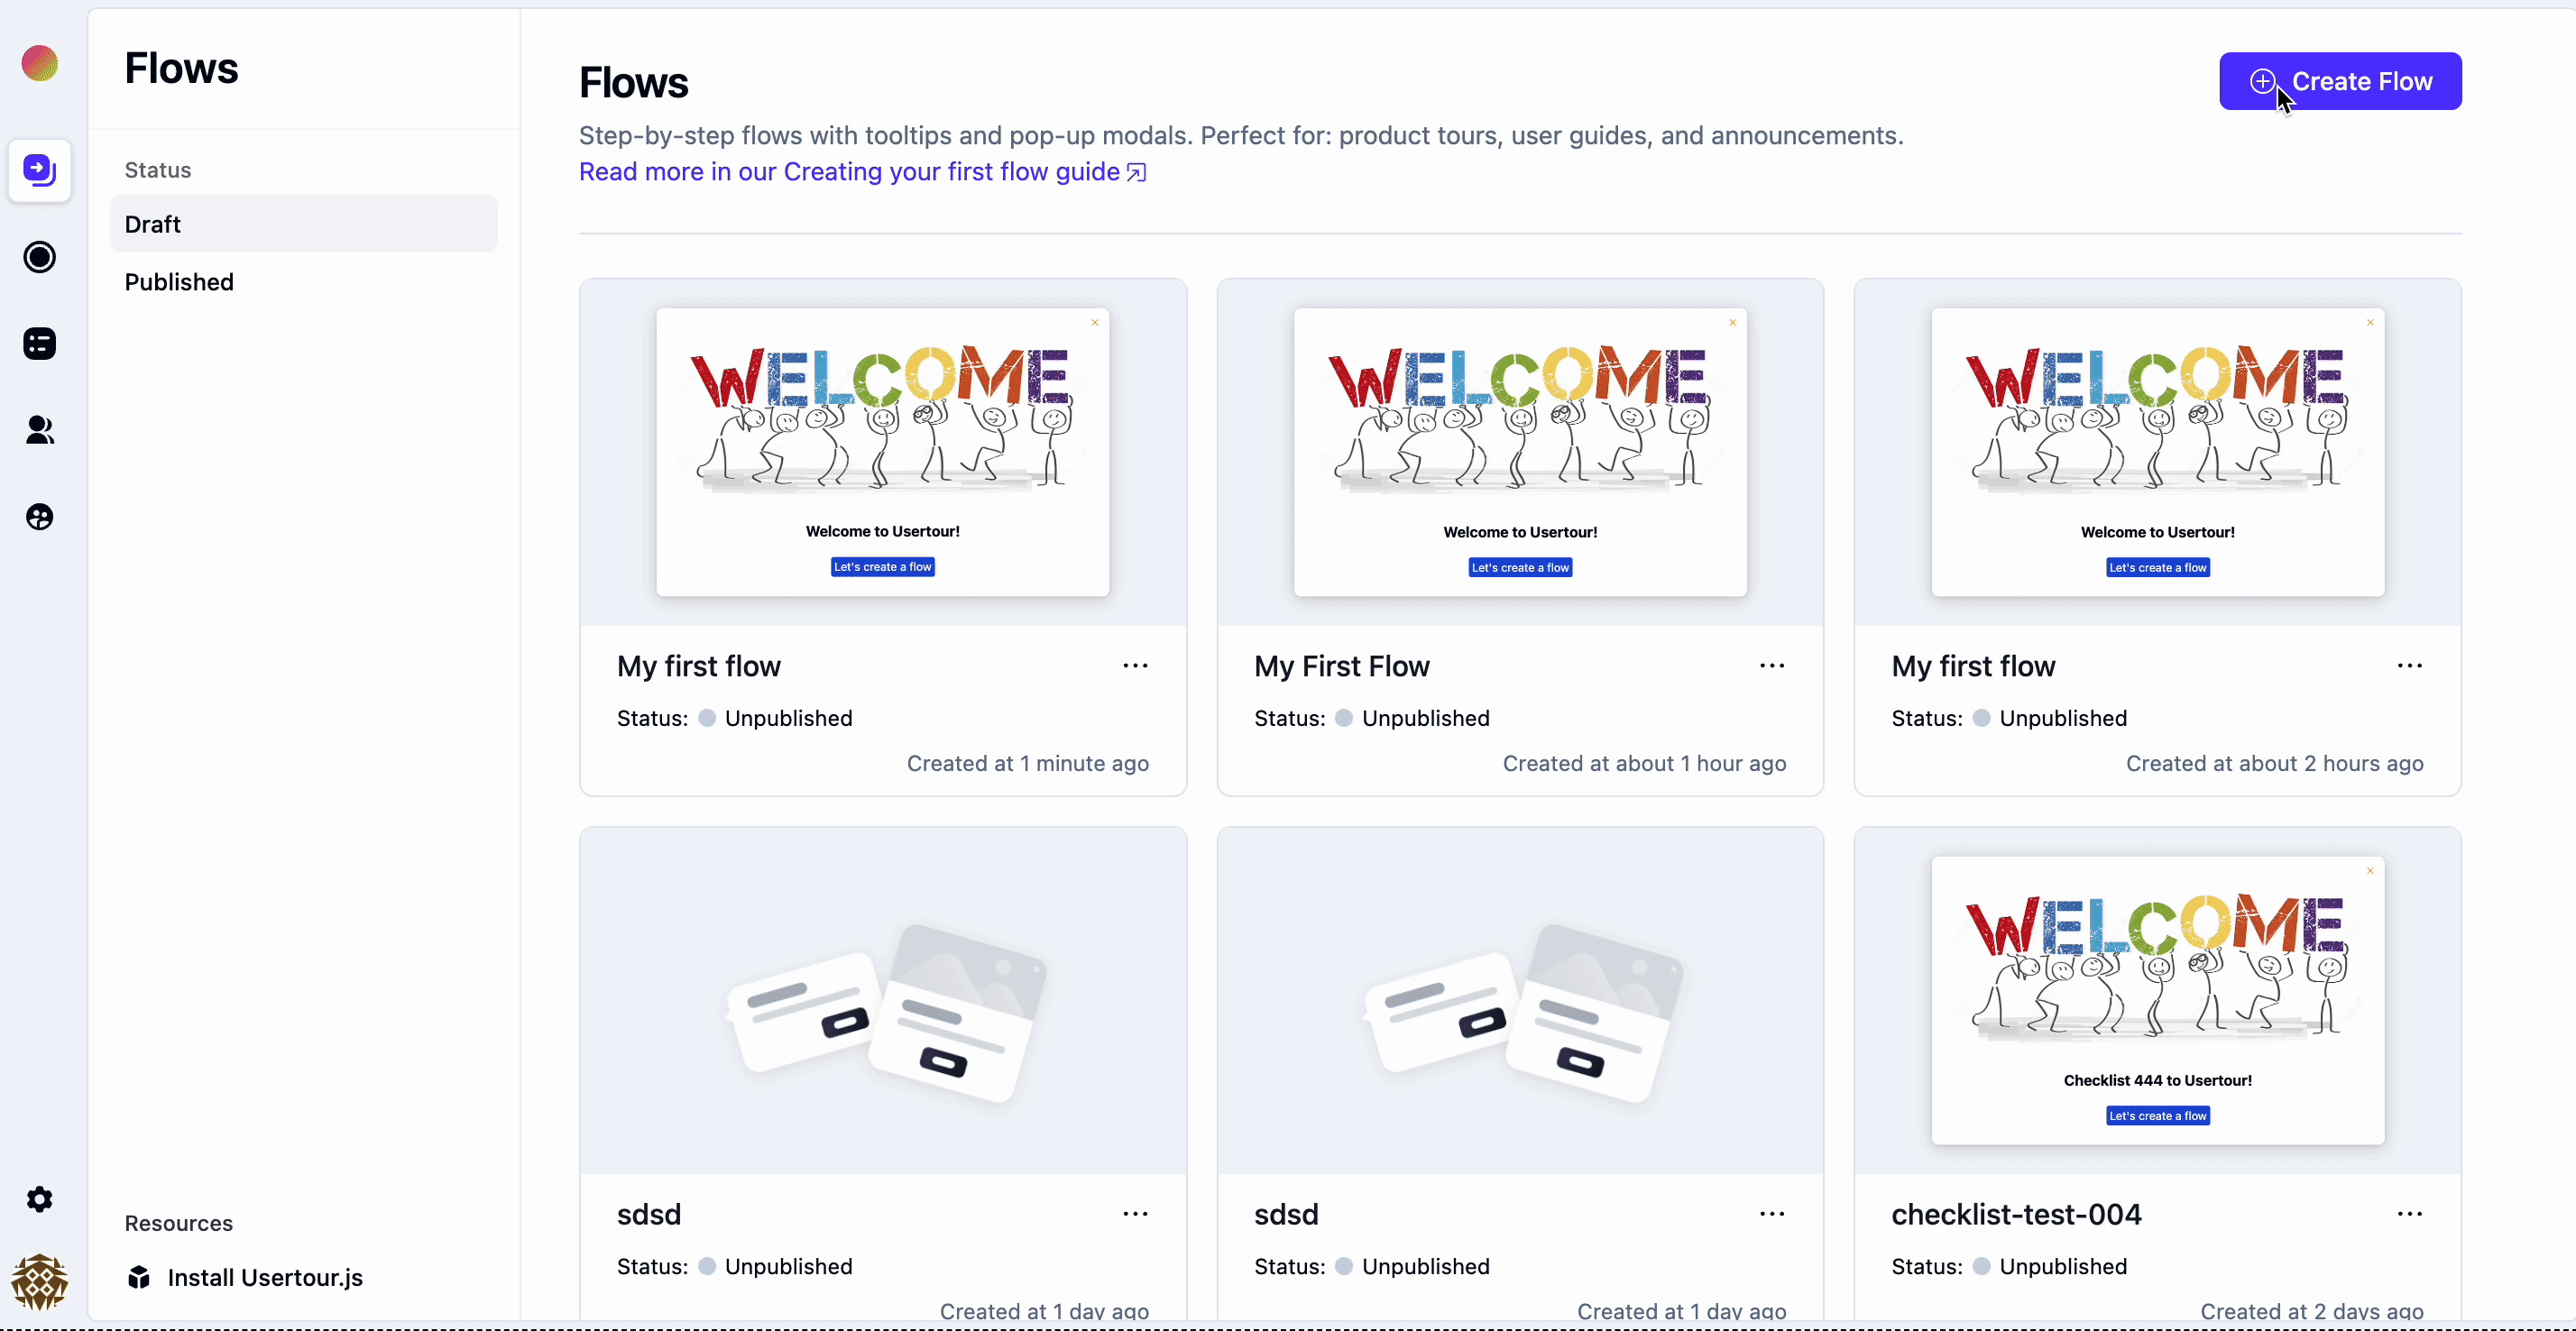
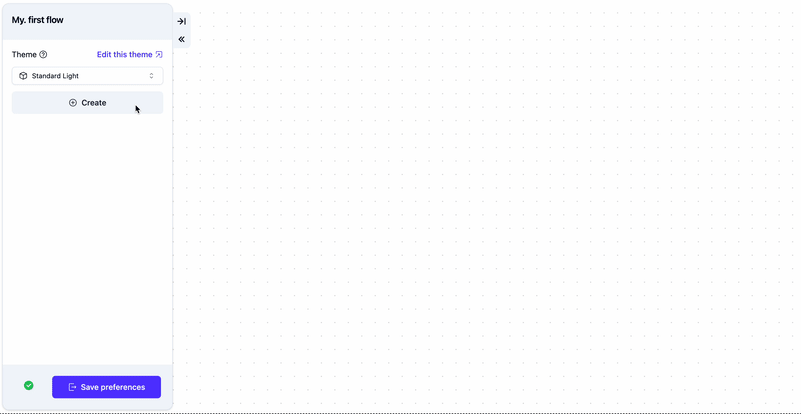
Create new flow
You can navigate to the Usertour web app > Content and create a flow do the following.
- Go to Flows in the sidebar.
- Click Create New Flow.
- Give the flow a name.
Edit flow in Builder
Edit flow
Options :
-
Theme
You can use themes to customize the appearance and styling of the step and make flows match your app. -
Element placement (Tooltips only)
- Element text. If the element text is not empty, Usertour will select an element containing the text you enter here.
- CSS selector. You can specify any element on your webpage using a CSS selector. For more information, refer to MDN's CSS Selectors. Usertour will use the querySelectorAll() method to find the element.
- If multiple matches are found, Usertour will by default select the first one. You can also specify the index of the element to select.
-
Adding backdrop to a flow
Adding backdrop is a powerful way to focus the user fully on the actions you want them to take. Adding backdrop adds a semi-transparent layer on top of your app covering everything else than the usertour content and tooltip target elements. This backdrop blocks clicks on elements behind it, thereby gently forcing the users to do as the Usertour flow says.
Modal steps have backdrop by default, and for tooltip and speech bubble steps you can toggle it on per step. One can furthermore adjust the backdrop behavior and look in the theme settings e.g. one can change the default behavior and allow backdrop clicks via the theme. -
Actions
You can choose the behavior of each step in your flow. You can choose when to trigger your step when it advances, and what happens if your user clicks on the “X” button of the step. -
Tooltip positioning
If you want a tooltip to show in a certain position (left, right, above, below the target element), you can change the tooltip position by clicking on the selected element on the flow step in the builder and selecting Specify tooltip position. Note that there needs to be enough space in the UI to show the tooltip at that position, otherwise it will be shown in another position with space.
Rearranging steps
It's possible that you might forget adding a certain step while creating the flow or maybe would like to rearrange the steps in a particular order.
To rearrange steps, just simply drag the step you'd like to relocate and drop it wherever you'd like.